Tuesday, October 29, 2013

Next Project: DIY Cloche

This has been in the back of my brain for a while, because I'm madly in love with cloches but I don't see a lot of them that are really getting the right shape as DIY.  So, my next challenge: figuring out a formula for flat patterning a really good cloche shape, that won't require more than intermediate math and sewing skills.  Of course, the real challenge in this will be remembering to take pictures of the process so I can post a tutorial!

This right here, this is the best shape:
But of course, this is in wool felt, and fabric just won't do exactly this.

This is a decent fabric version:
Except, yanno, with proper finishing.  

Wish me luck!

Wednesday, October 23, 2013

Things I'm Loving Today

Unfussy lace.  Cozy sweaters.  Vintage pins.

It's 40 degrees out, I'm seeking comfort wherever I can find it.  I hope you're finding you comfy zone too.

Saturday, October 19, 2013

My Latest Project

Another thing I've been wanting to do-- show some of my own work.  And today, in the spirit of weekend projects, I'd like to share the last thing I finished.

The fabric was so totally inspiring.  I found it as a very rough scarf on my last thrift store outing.  It was a large enough piece that I know I could make some sort of garment out of it.  It's a Tanzanian cotton, but the motif reminded me so much of traditional Japanese fabrics that I decided this would be my first pass for the season at a kimono style garment.

Now: kimonos need a lot of yardage, and I really didn't have it in this piece.  So I went way, way, way back in the history of clothing and decided to do a very primitive T shaped jacket.  To accomplish this, I folded my fabric in half the long way, and then cut a slit up the fold that ran half the length of the fabric, creating a front opening.  After this, I cut away the corners of fabric to create the T shape.

The corners were then pieced together to form a kimono style collar, which I interfaced to encourage it to lay crisply.  The stitching of the body of the jacket was remarkably simple.  If you do this yourself, you will have to make sure to clip your corners where the body turns to move into the sleeve.  The sleeve will never lay right without this.  I attached my lining through the hem first.  This picture will help you understand why, I think.

I was lucky enough to spend about a year training under a tailor, and I just love the way tailored hems look.  With this garment, hemming first was the easy method to accomplish what I wanted, and it provided the most efficient and durable construction.  I was able to machine stitch all of the finishing on this.

The next step was to baste the center fronts and neckline together with the wrong sides facing each other.  I applied the collar to the inside of the garment first, and the pinned the front side of the collar in face and stitched in the ditch to finish it off.  I also ended up doing a topstitch around the collar, because even with the interfacing, it was not behaving as I wanted.  The cotton was a looser weave and had a mind of its own.  I'm a firm believer in beating such fabrics into submission by whatever means necessary.  Back on track though-- after that, it was a simple matter of pinning up the sleeve hems and topstitching them, with the lining set back a bit from the cotton.  If I were to do this project again, I would probably break down and handstitch the sleeve hems.  The machine stitching gave the hems just a titch more body than I really wanted.

Next time I will try to be patient enough to take pictures of my process!  I do plan to do a few more T shaped garments, and hope to post a tutorial about how to cut one in the next couple months.


Thursday, October 17, 2013

Feature: Green Line by K

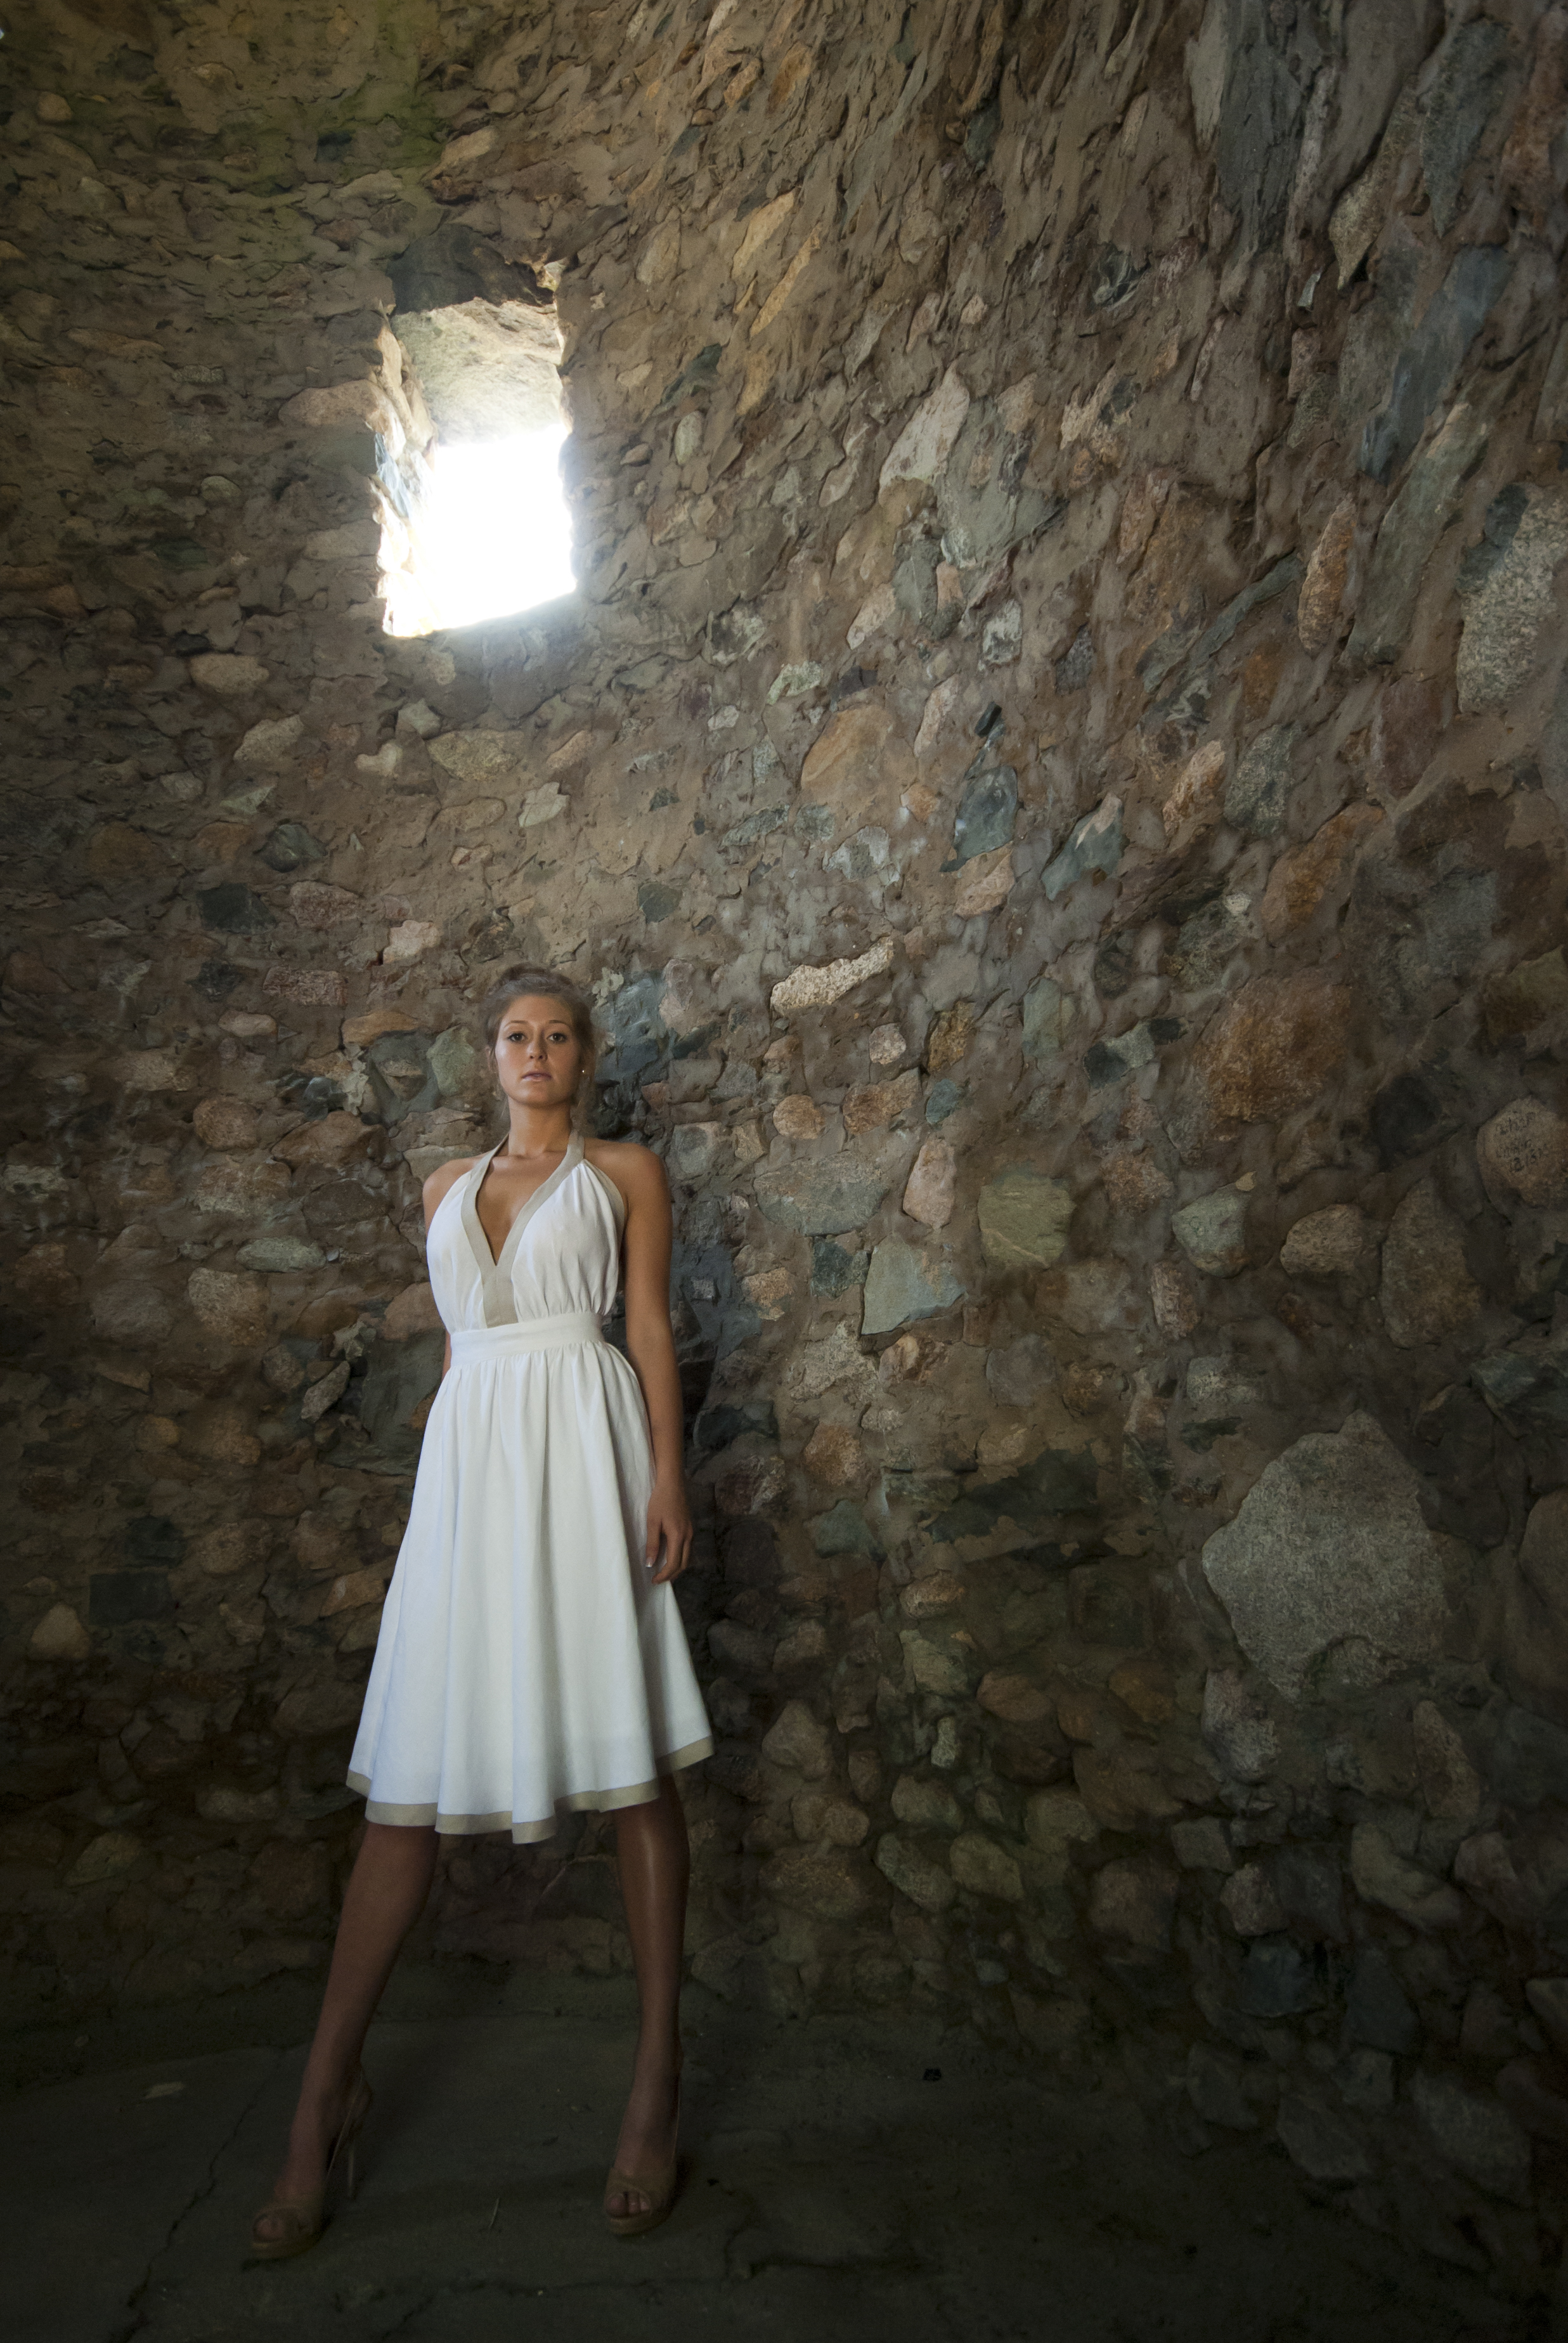
This is something I've been wanting to do since I started the blog, and today is the first time I shall finally do it!  I'm very excited to share with you a clothing designer who uses natural, sustainable, organic fibers to make ecofriendly yoga and modern bohemian fashion for women.  Kathryn was kind enough to share some of her thoughts on design and hand made with me, but I'll start this off by letting one of her favorite pieces do the talking.

The ultra feminine backless linen dress.
Gorgeous, isn't it?  Kathryn began her career with an apprenticeship to an Italian tailor at sixteen years of age.  Her first love was design, which she was later able to study.  Kathryn describes her style as having a "very clean line and feminine drape".

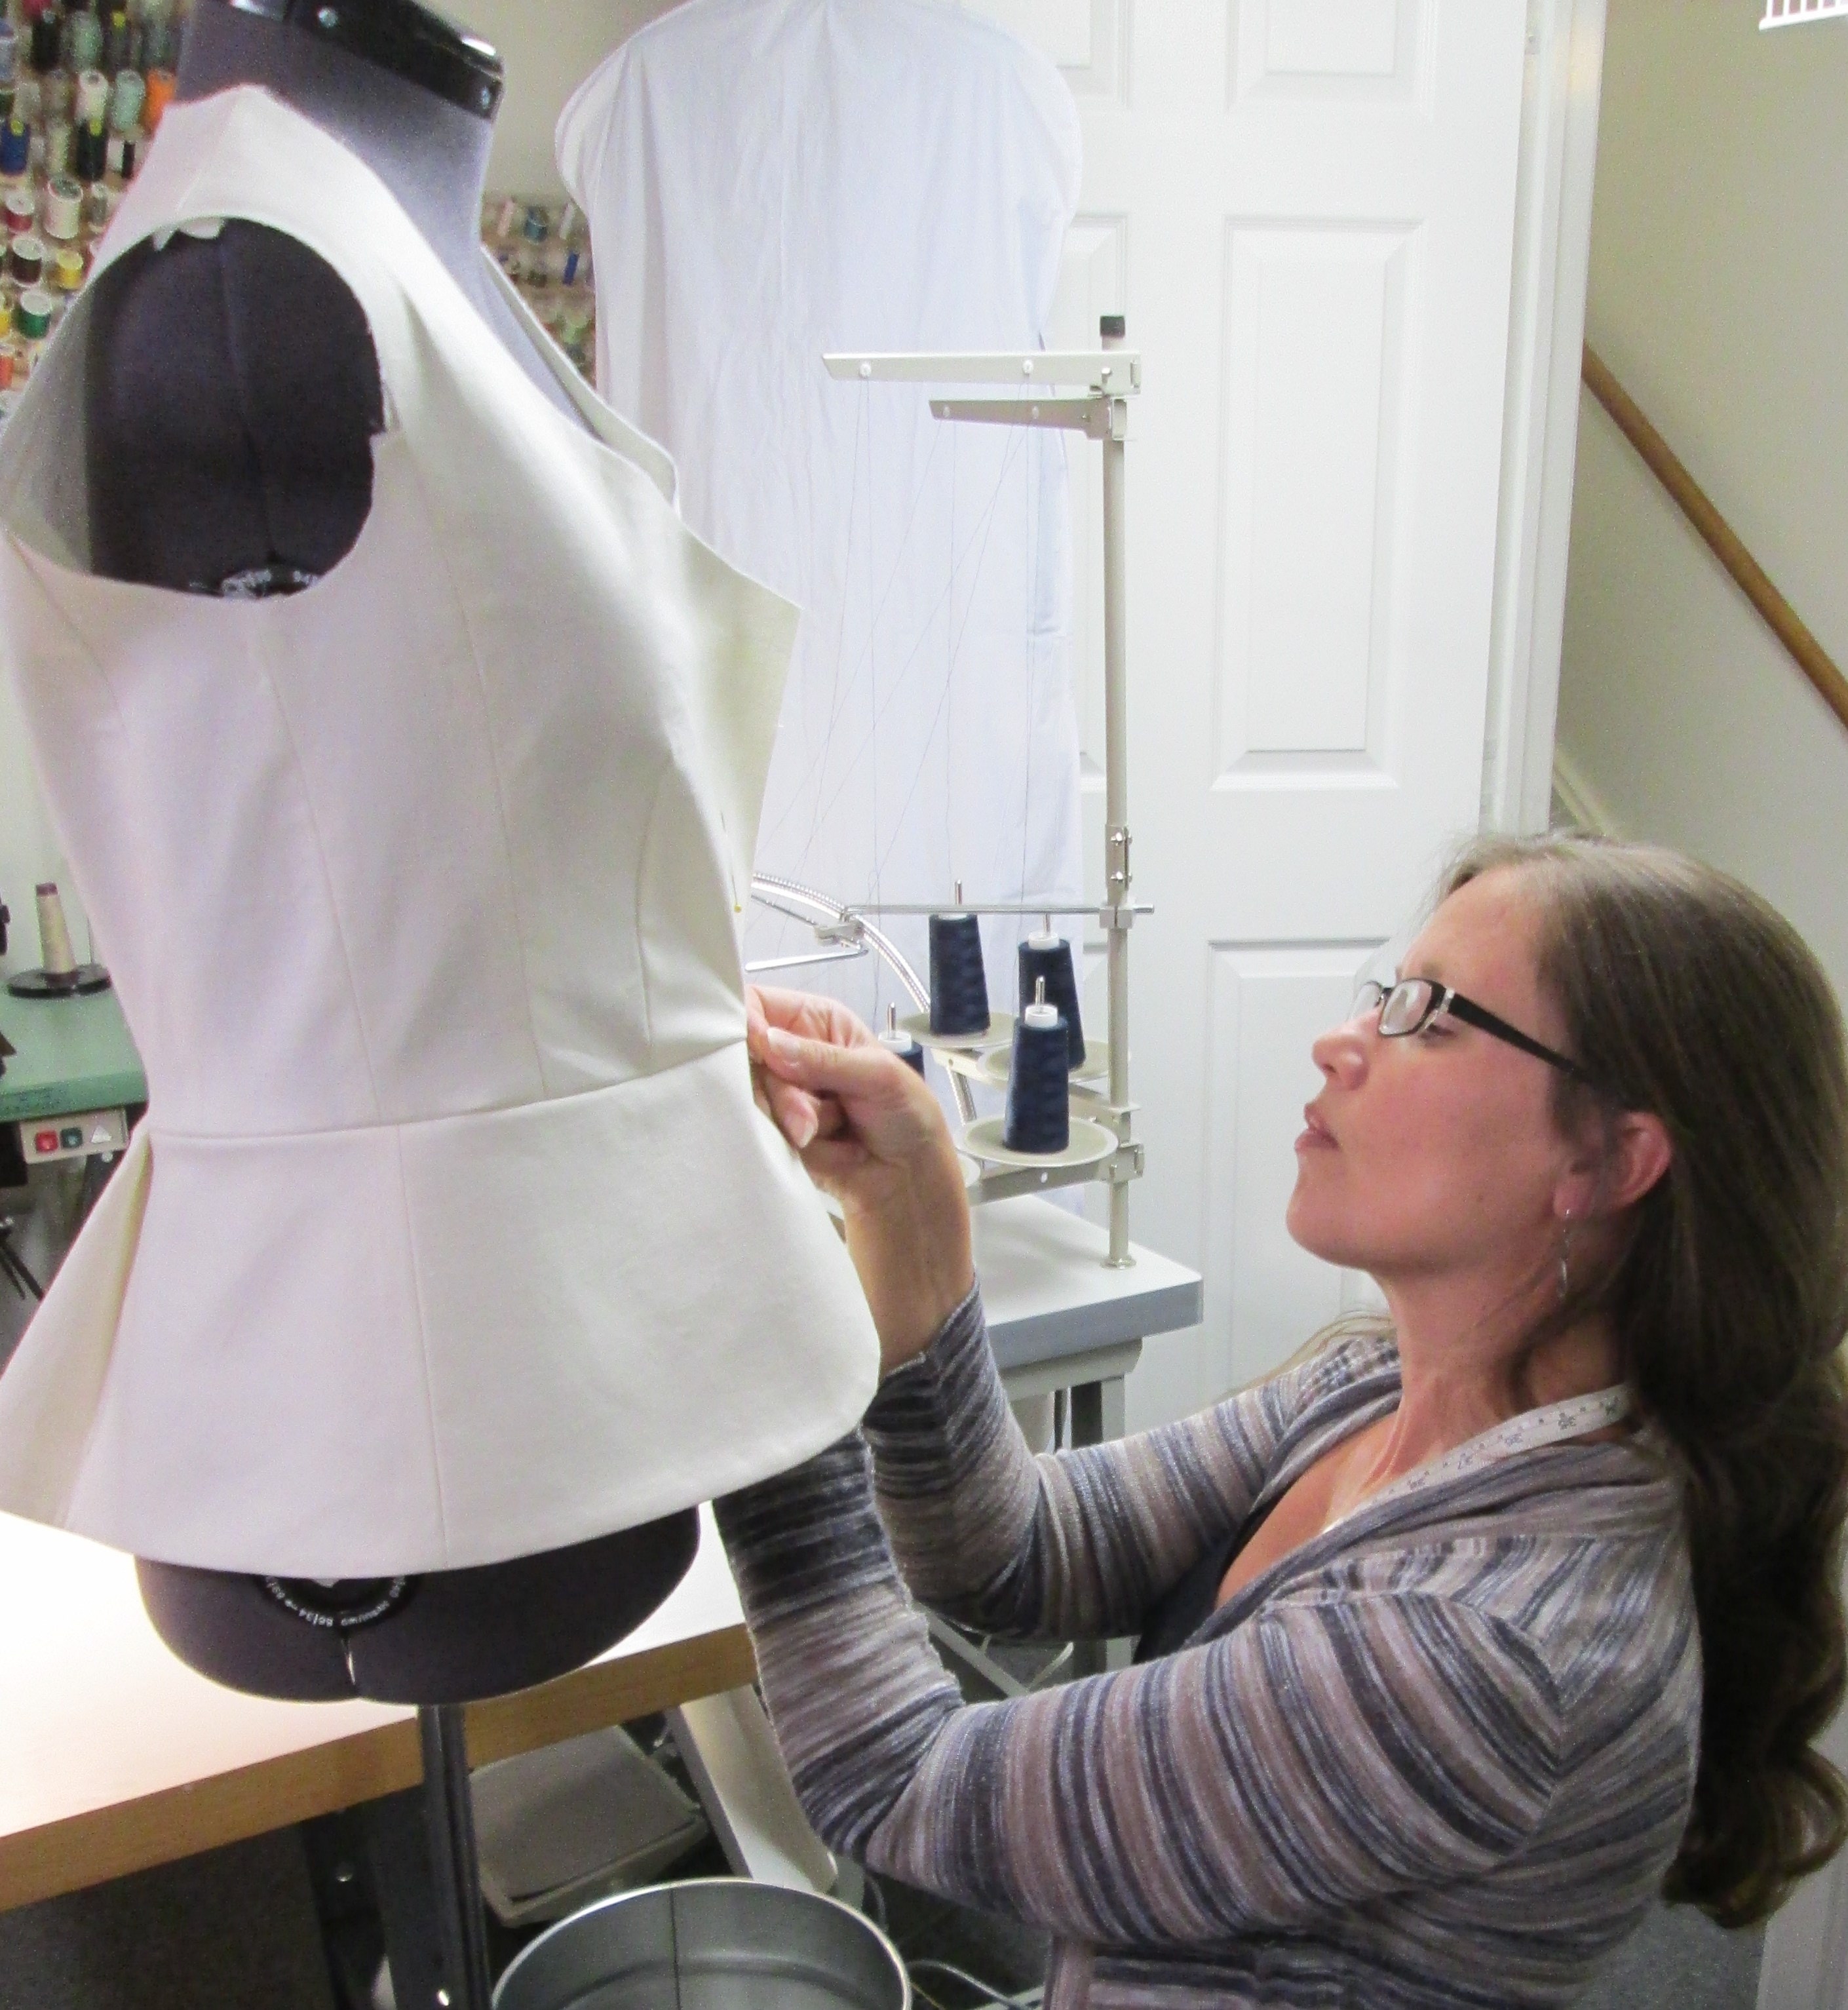
Kathryn at work.

Kathryn begins her work with a "feeling for a garment or collection".  From this comes the sketches, which her assistant may help with, and then she begins the hunt for swatches and fabric.  She creates her patterns through draping or flat patterning techniques, depending on the complexity of the garment, and then goes on to the cutting, sewing, and fitting.

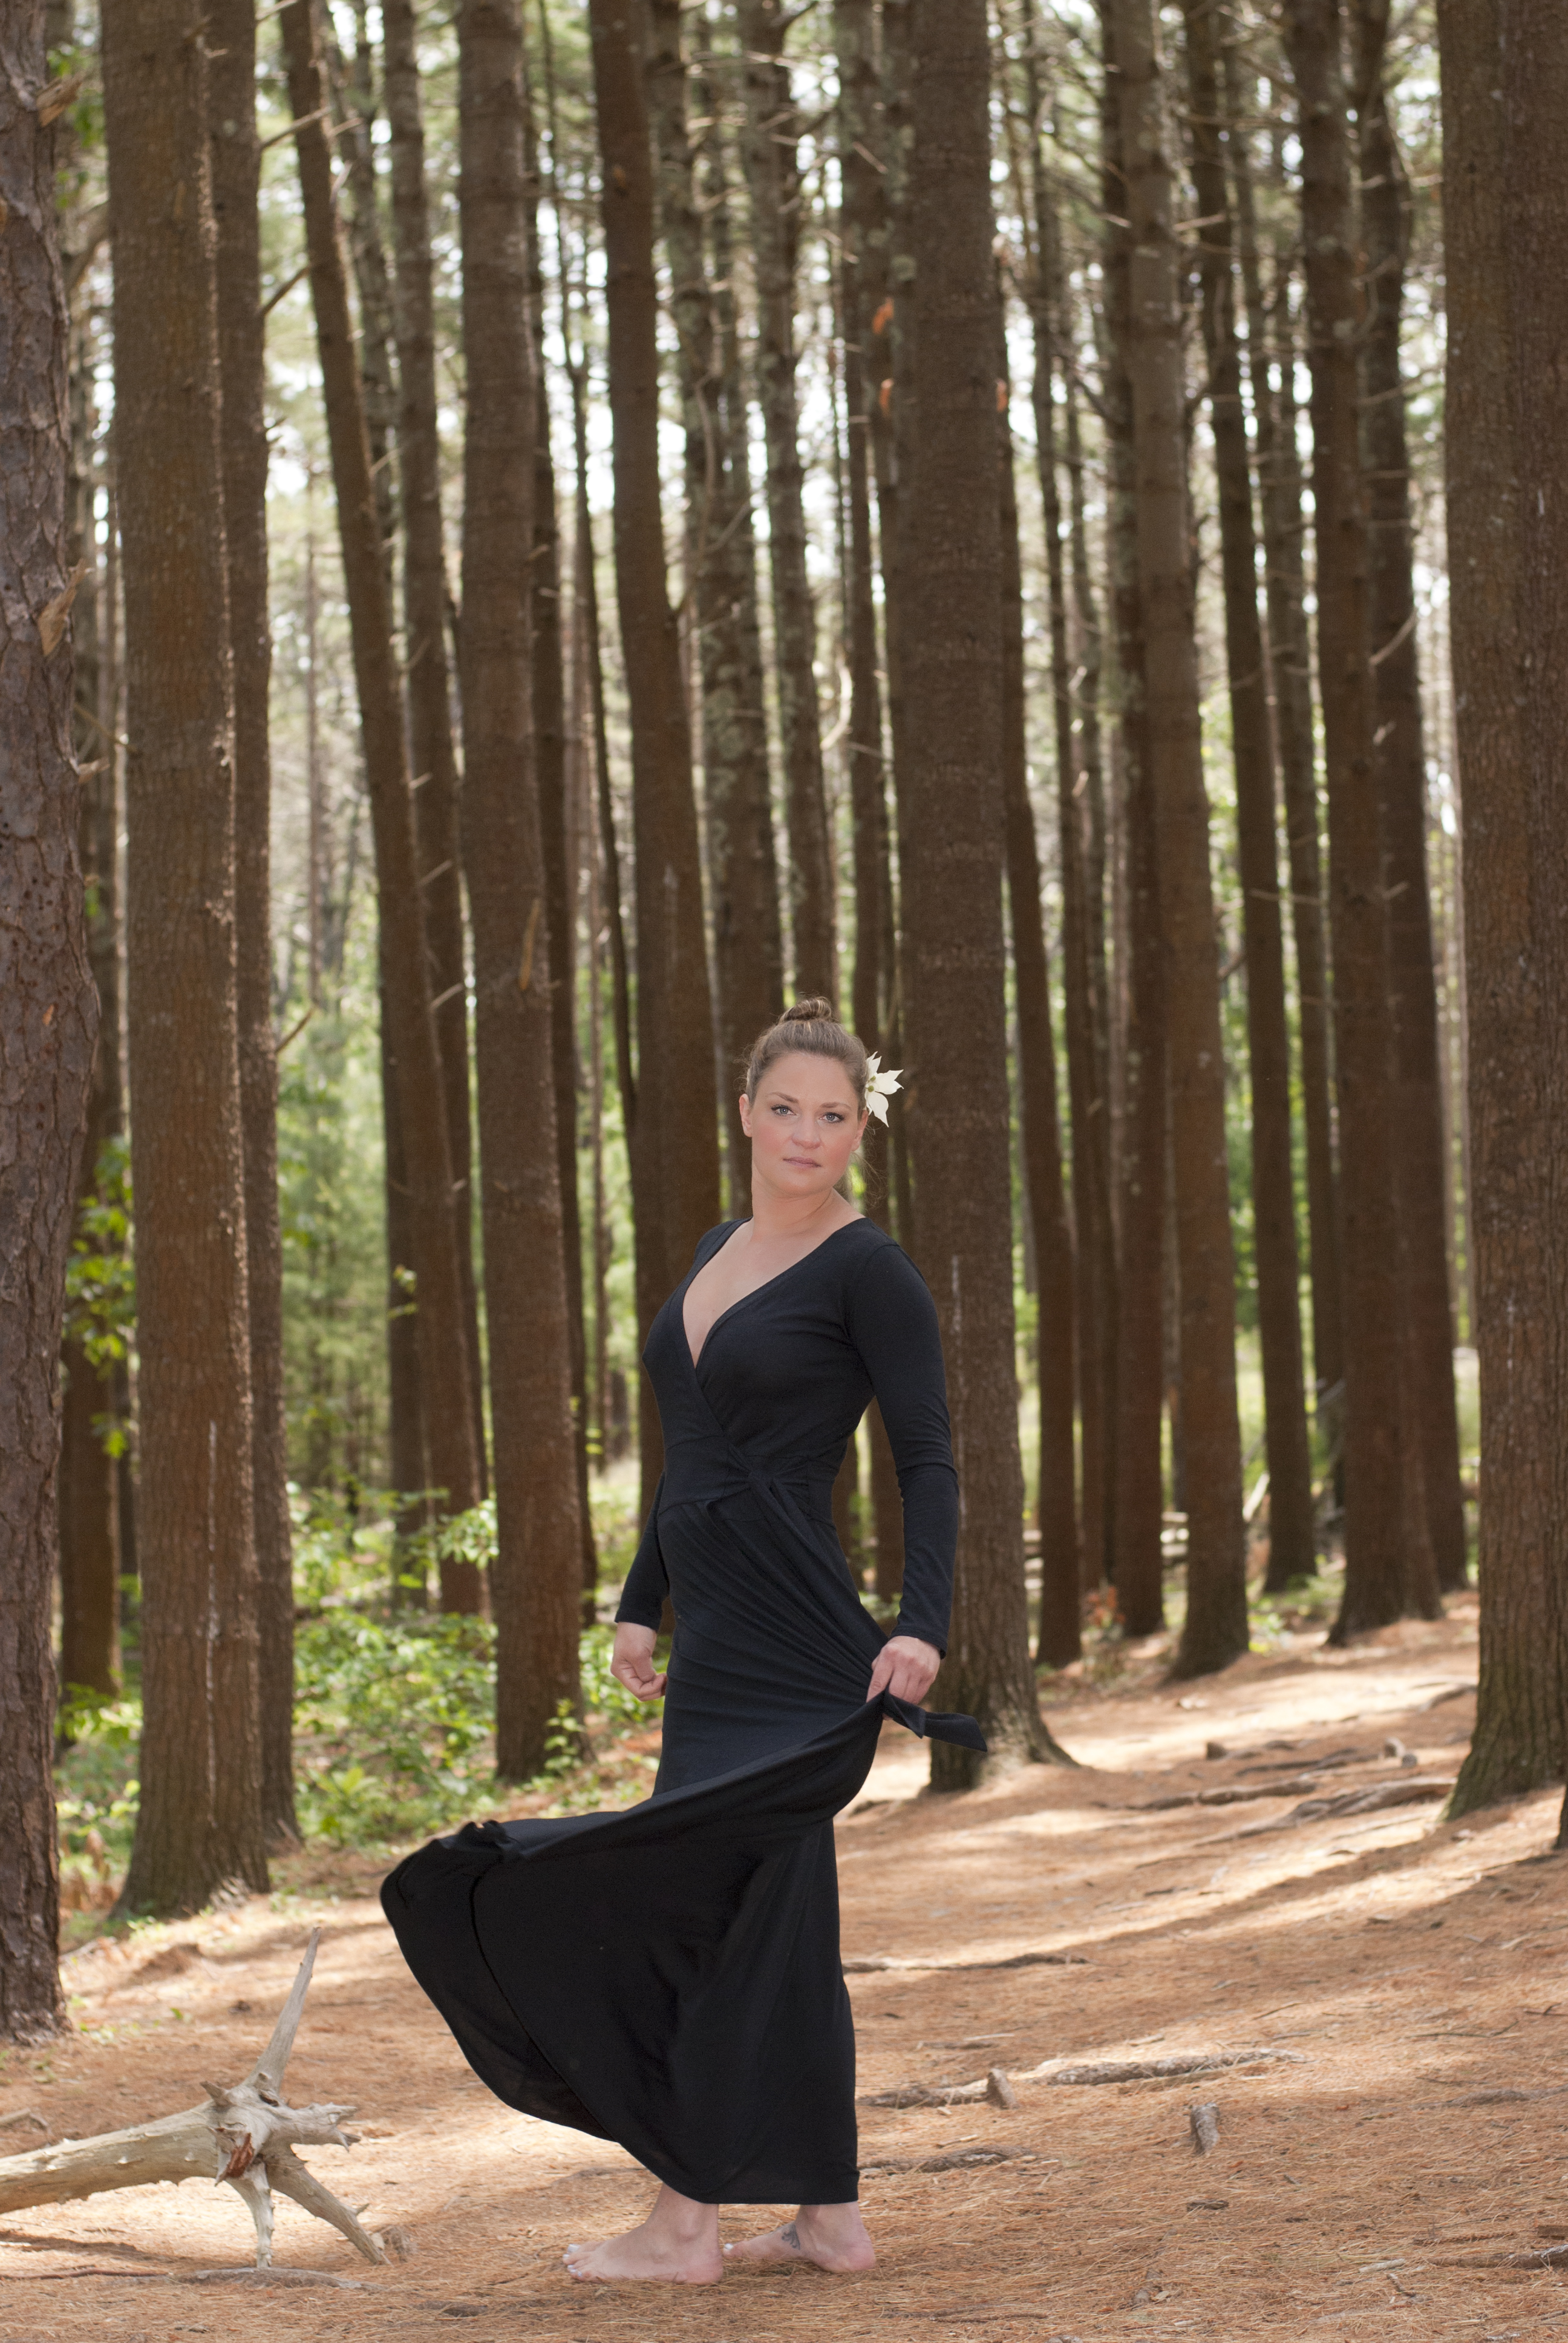
The gorgeous drape of the wrap maxi dress.

I asked Kathryn why handmade was important to her.  This was her response.  "Handmade products are important to me on many different levels.  Handmade means love and thought.  Handmade means a job for someone.  Handmade means unique and original.  Handmade, to me, means an expression of my art."  To me, this is a perfect way to describe the special value of handmade objects.

Yoga wrap pants in organic cotton.

A final word from Kathryn: "The most important thing I'd like to convey is that I am passionate about making environmentally responsible decisions, and about making socially conscious decisions.  I am partnered with my local Habitat for Humanity Chapter and give back through the sale of my Participate Eco Tees.  I source from local distributors whose business practices I admire.  I hope to be able to make a difference in this great, big world of ours.  Even if it's only a small one.  Every little bit adds up."

If you want to find Kathryn and Green Line by K to learn more about her work, here is a list of places to find her online.
www.custommade.com/by/greenlinebyk 
www.greenlinebyk.55g.stanfordrow.com 
www.zibbet.com/GreenLinebyK
www.etsy.com/shop/GreenLinebyK 
Also, Facebook--  www.facebook.com/GreenLinebyK
And Twitter-- twitter.com/grenlinbyk


Wednesday, October 16, 2013

Monday, October 14, 2013

My Work Space

In response to the changes at Etsy, I've been updating my About page to show more about how I make things.  I only get five pictures there, but I'm trying to choose those pictures to really reflect the fact that I am a one woman operation.  Here are some of the shots of my work space that I took today, a few of which made it to my About page.

Yep, it's my dining room.  And yes, I'm lucky enough to have a wall full of windows.

This is my poor little Pfaff.  I got it while I was in college, nearly 20 years ago now.  Hard to believe, especially when you consider how much abuse this machine has taken since then.  I still lust after an older model Bernina, but at this point, I don't think I could stand to fully retire my Pfaff.  

And here is my serger sitting in the windowsill next to the table, waiting to be called into action.  It's a four thread with differential feed, so though it's not an especially fancy or expensive machine, it does everything I'm likely to ever need.  And it's a New Home, bless their hearts, so it should last forever.

Jewelry making supplies, since I can't seem to stay away from it.

Pile of projects and fabric desperately needing to be finished.  As you can see, I'm not terribly organized.

Another view of my work space, with another pile in the background on the radiator.  The weather is turning cool and autumnal here, so I'll have to find a new home for that stack of fabric.

And last but not least,  a shelf overlooking my space with a selection of useful and sentimental items.  From here, my grandparents watch over me, accompanied by my poor dead kitty.  The little stone bobbers on the right are my fetish collection, along with an old Indian stone tool (possibly a hide scraper?) found on the river bed where I grew up during a heavy drought.

What is your work space like?  Do you manage to stay more organized than me?  I tend to have multiple projects in the works at one time, so my dining room pretty much looks perpetually like a craft explosion.